
| << back | INDEX | next >> |
|
|
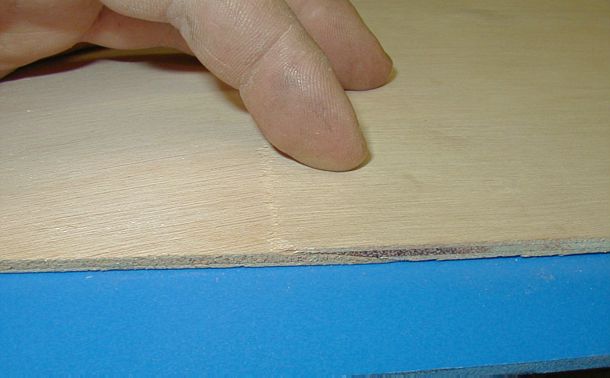 |
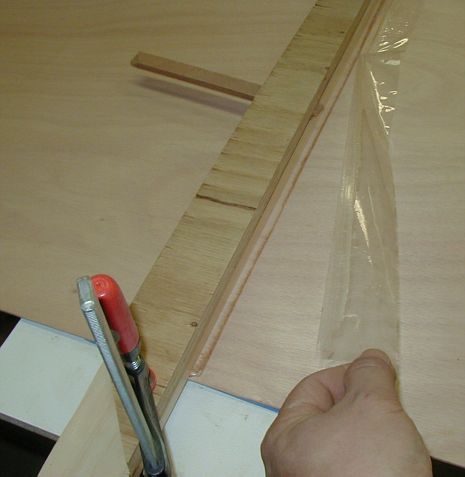
Examining a scarf joint. To glue the pieces make certain that the plywood rests on a nicely flat, non-stick surface with the GOOD SIDE UP. |
 |
Bring the sheets close
together and align them so that you don't need to do much manipulation
after the glue is applied. I also assume that you did some experimentation
prior to scarfing to see how the plywood grain and color would match across
the panels and which ends would end up together! I highly recommend to
number them so that you don't need to Waltz around your shop with 8 foot
sheets already adorned with fragile, razor sharp scarfs. |
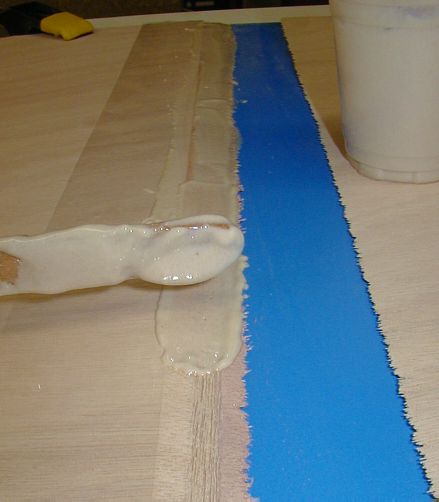 |
I have used both Titebond II and epoxy mayonaise (epoxy, colloidal silica for thixotropy, wood dust for color and phenolic microbaloons for both color and bulking up). Now you will appreciate the non-stick surface under the plywood. |
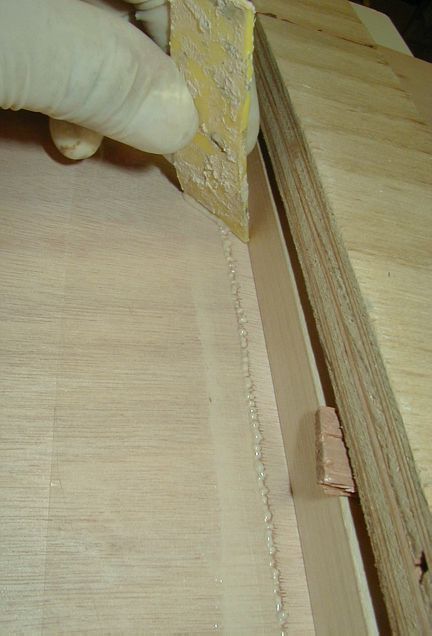 |
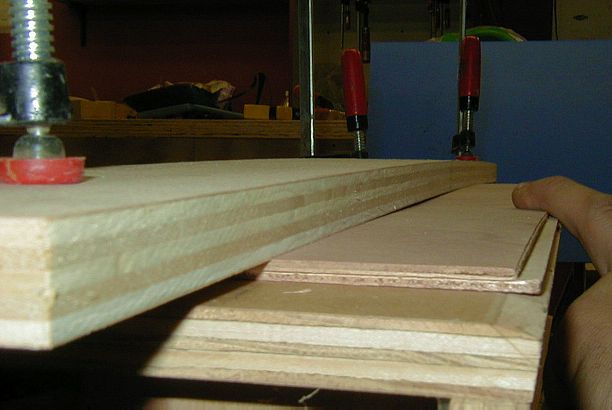
Clamp without squeezing the life out of it and wipe off the excess onto the masking tape. Let it sit. Both Titebond (or any other good wood glue) and epoxy have good gap filling properties so no huge pressure is necessary. |
 |
Speaking of pressure, it should be distributed evenly along the joint. |
 |
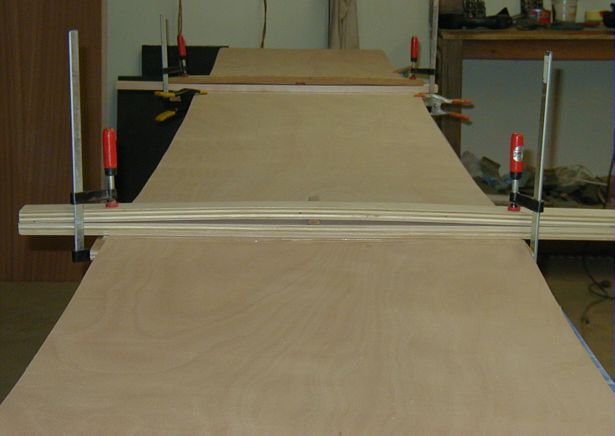
Whole 24 feet. The
Cirrus hull plates were made using only these three 2' x 8' sheets. This
is also true of the deck if you are going to make it only from one type
of plywood. |
 |
Peel and admire your accomplishment. Zero cleaning! Sand or scrape lightly. |
 |
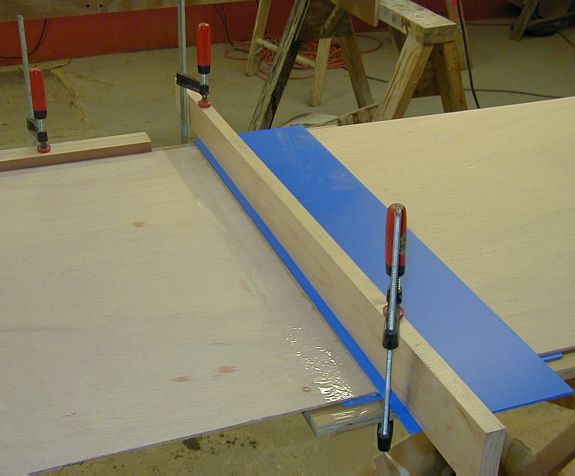
Alternative (bad) example of a scarfing clamp as well as the 'scarf gluing' clamp. In this instance, either the plywood cannot be clamped sufficiently, or the pressure on the ends bows it out in the middle. |
 |
Solution. Doubling scrap pieces with a spacer. The pressure is more even with this three pronged approach. |
 |
Poor man's clamps at work. |
| << back | INDEX | next >> |
| 1 2 3 3a 3b 4 5 6 7 8 9 10 11 12 13 14 |
| Home | Kayak Designs | Kayak Shop | Materials | Kayak Gallery | About us |
| Building Manual | Plans | Sandwich Core | Wood Kayak | Order | |
| Epoxy Test | Abrasion Cloth | Rudder | Resources | Choosing Kayak | Guestbook |
If you notice any problems with the site (i.e. error links, missing images) please, let me know. Thanks
Mail:
Vaclav Stejskal
10 Colonial Court apt. 73
Stoneham, MA. 02180
USA
Tel: 781-481-9261
© 1999
- 2020 Copyright Vaclav Stejskal
All rights reserved
Last page update:
11 January 2020