 |
The
kayak mold is constructed the same way airplane builders used to build wings - a box-beam spar supports
ribs that are then covered with skin.
This method eliminates the need for a separate deck mold. Speed, accuracy and material savings are
the hallmark of this method.
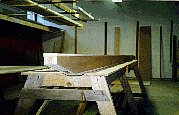
A plywood beam (spine) is built to size for the specific kayak model. |
 |
After
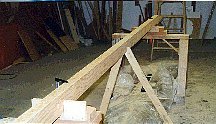
the stations are threaded onto the spine, it must be clamped to the horses
and supported in the middle to prevent sagging, vibration, and bending.
You will see noticable increase in stiffness in the whole assembly.
This photo illustrates important support areas. |
 |
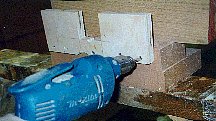
Detail
of the attachment. Make certain to mount the kayak mold so that its top
is somewhere around chest height. Two or three months of deep bending over
your work is not fun.
Since the spine is attached only at these points, it is critical that the
notch in the plywood 'mounts' is square and level (horizontal) so there
is no twist in the spine. Use thin wedges and clamp to immobilize the spine
in the mount. |

