 |
||||
| INDEX | next
|
 |
The
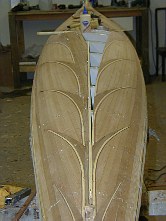
next step in the inlay procedure is to fill all the 'arrow tips' so that
they project into the space of the central band running along the length
of the deck centerline. The fill is mostly 1/4"x 1/4" (6,3mm x 6,3mm) red cedar splines for flexibility. Check out the technique for mitering the acute angles of the dark filler strips. |
 |
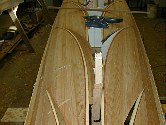
The
spline that I drew the long curves with is used again to define the trim
line of the protruding arrow fills. The right side of the deck is already
trimmed. In order to strip the left side, I stapled the white strip along the deck centerline to create a reference line by which to judge how much to fill the quadrant. I made no effort to cut accurate miter joints because a spline is inserted later along the centerline. (See the second picture below) Now, the total number of accurately mitered strip ends is only 21 at most for the ENTIRE kayak deck. This assumes an average of 3 mitered strips per 'arrow tip'. Imagine the nightmare trying to form the decorative inlay first and filling in the rest. |
 |
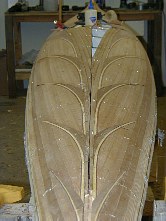
Filling up the right side. Note the gap in the middle. |
| INDEX |
| Home | Kayak Designs | Kayak Shop | Materials | Kayak Gallery | About us |
| Building Manual | Plans | Sandwich Core | Wood Kayak | Order | |
| Epoxy Test | Abrasion Cloth | Rudder | Resources | Choosing Kayak | Guestbook |
If you notice any problems with the site (i.e. error links, missing images) please, let me know. Thanks
Mail:
Vaclav Stejskal
58 Wood Ln.
Acton, MA 01720
USA
Tel: 781-481-9261
© 1999
- 2024 Copyright Vaclav Stejskal
All rights reserved
Last page update:
9 May 2024