|
| HOME |
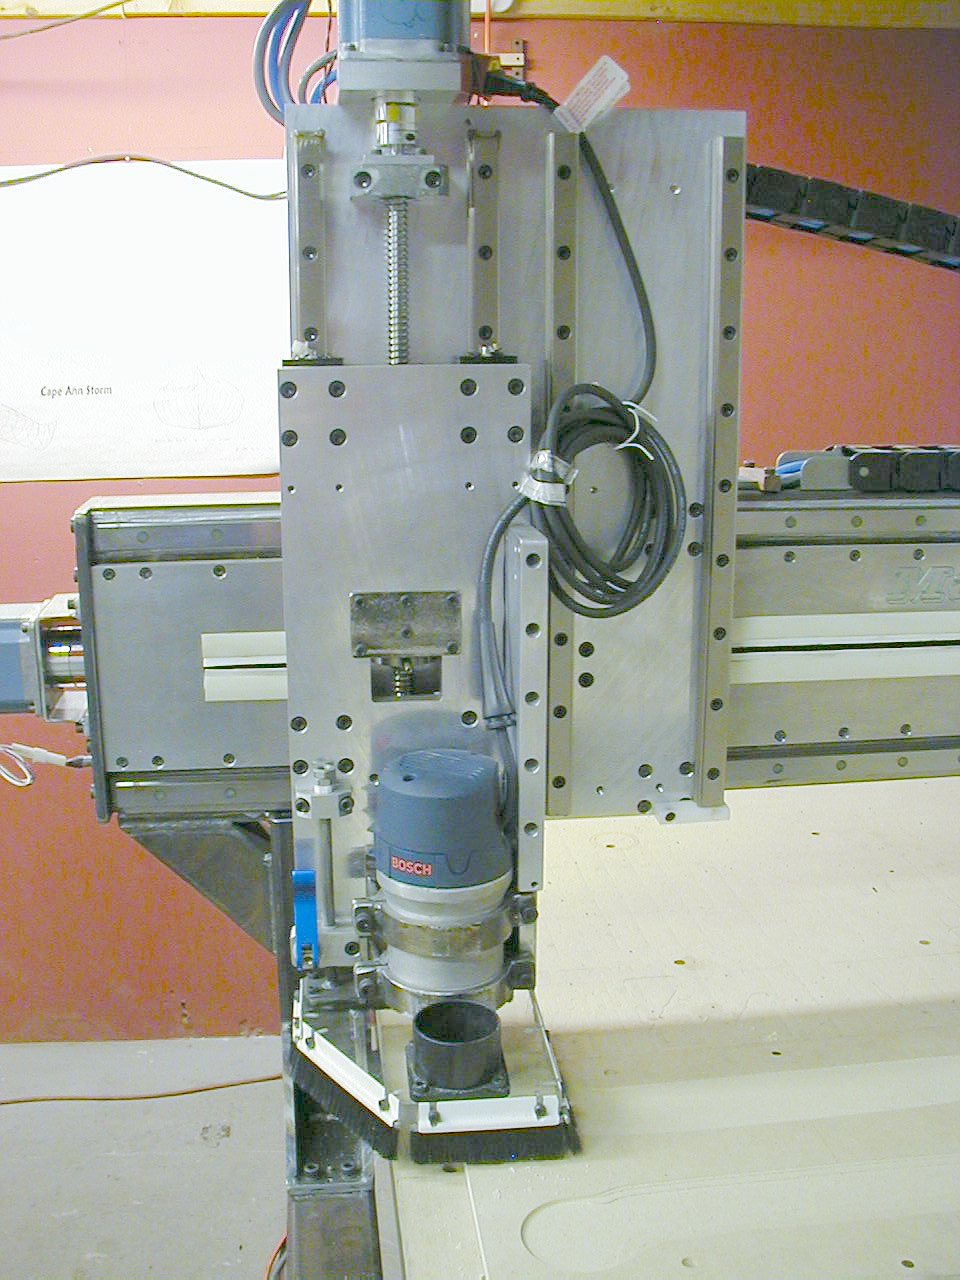 |
Here is a working but still unfinished Z and W axis. W axis is missing and
the hanging power cord needs to be put into an energy chain. Since I do
not have a tool changer, I will be using the W axis mostly for drilling
or spotting operations or for a small mill. The material is 3/4" thick MIC aluminum (cast, stressed relieved, surface ground plate). This stuff has excellent flatness, surface finish and thickness tolerance, much better than extruded rod or plate. |
 |
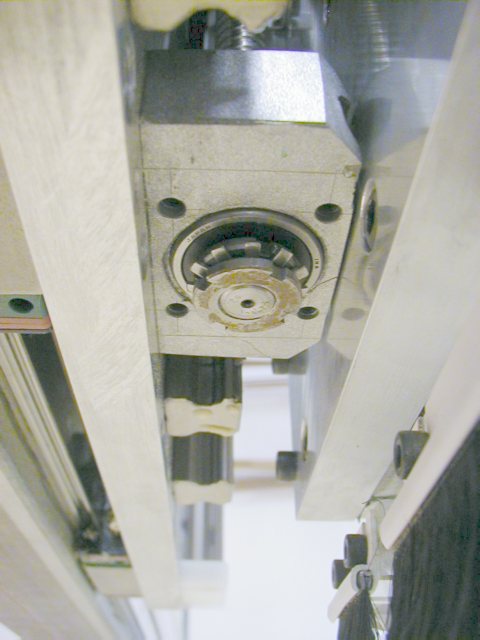
The
z axis screw bearing blocks were made by placing the screw with the bearings
(one double row bearing on each end) on a flat plate with the screw perfectly
parallel to the plate. The bearings were sealed and "dammed" and
aluminum/steel/epoxy slurry was cast around it into a form made from formica
and hot glued together. What matters here is the parallelism of the base
plate to the screw axis. The bearing forms its own perfect impression in
the block and fits far better than if the bearing seat was bored out from
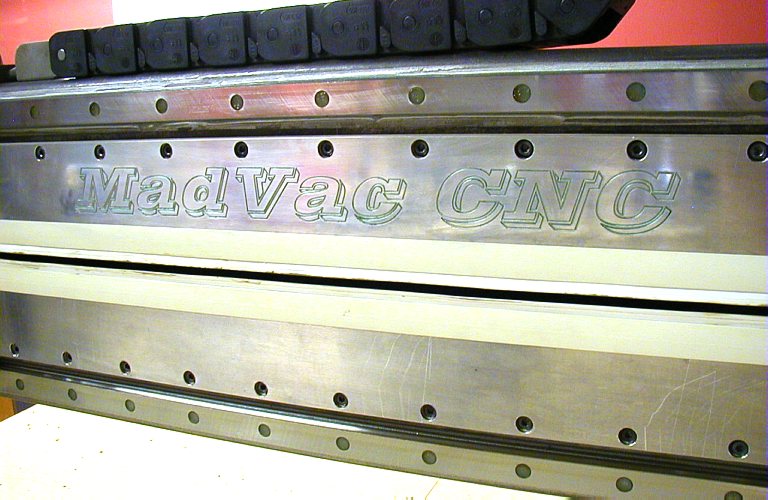
solid material. Hot glue, clay putty (playdough) are excellent auxiliary materials for epoxy casting molds and I have used it as a sealer, spacer, dam etc.. for every plumber block and other epoxy casting operations. The THK linear slides (about 28mm wide) are a total overkill for this axis but I got all 4 rails and 8 blocks on Ebay for $378. They came just this length which was perfect so the z plate and length of the z ballscrew is designed around the rails. |
 |
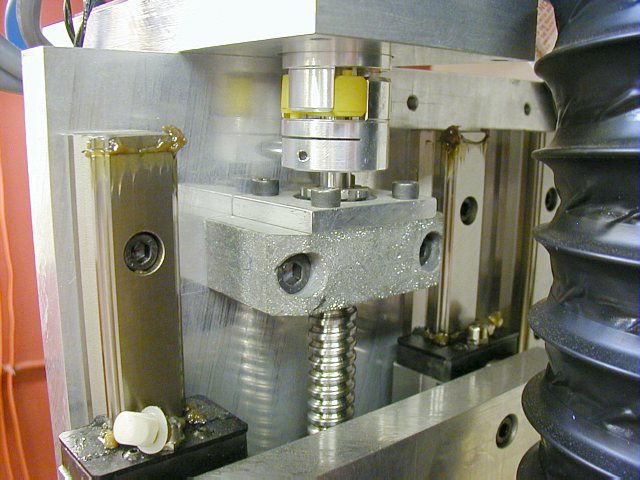
Lower block. The bearings are preloaded by the lower bearing having about
0.0015" gap between the ball screw shoulder and its inner race. After
both blocks were mounted firmly to the aluminum plate, the locking nut was
tightened against the bearing. This puts the ball screw in tension and both
top and lower bearings become preloaded with zero backlash. Pretty tight space between the bearing block and the z plate. Here, the linear slides determine the space between the MIC plates and I had to make the blocks so that the ball screw would fit right in the middle of the space. This required grinding off the lower lobe of the ballnut round flange. The screw and nut were nicely sealed with plastic and the lobe was chopped off with a 1/16" x 4" cut off disk on a grinder while cooled with wet sponge so that the metal would not get too warm. The flange is hardened steel and nothing else will cut it. The z home and limit switches are crammed in the space between the plates. |
 |
|
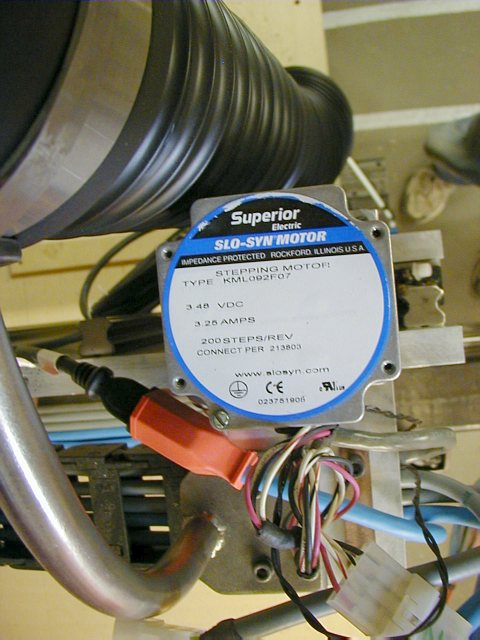 |
Looking at the top of the z axis. Superior Electric KML092F07 stepper (a smaller brother to the x and y axis motors). I do not believe, the z axis ever misbehaved. No lost steps, no stalling..no anything. |
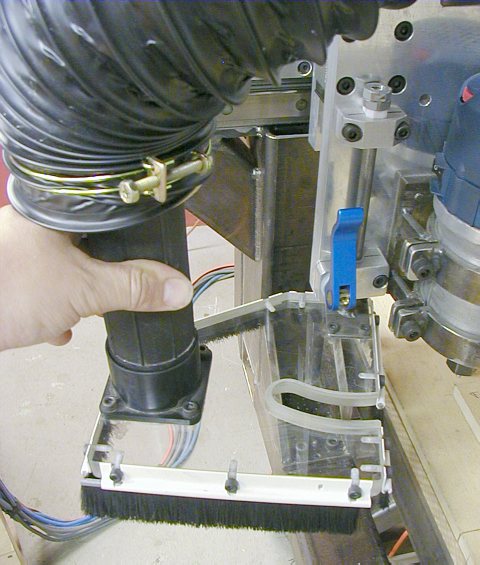 |
This dust shroud was the very first useful item the machine made for itself from 5/8" cast acrylic. It is held in position by the hinge shaft friction/cam lever and simply swings over the router collet. The brushes are door sweeps from Home Depot and so is the 3" wetvac adapter and tube.. |
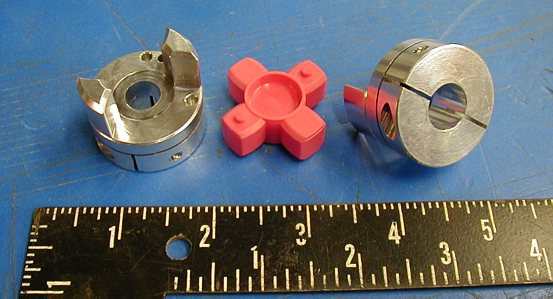 |
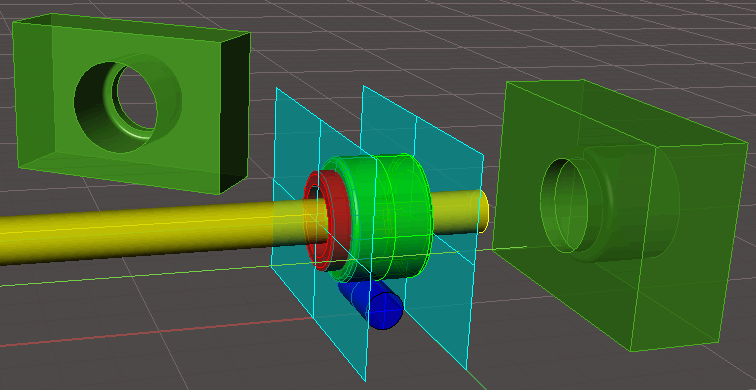
Here are the Z axis spider couplings. 1/2" shaft hole of the motor and 3/8" for the Z axis screw. These things are great since you can take the motor off the shaft without loosening any screws! |
© Copyright
Vaclav Stejskal
All rights reserved
Last page update:
4 May 2005